Techniques
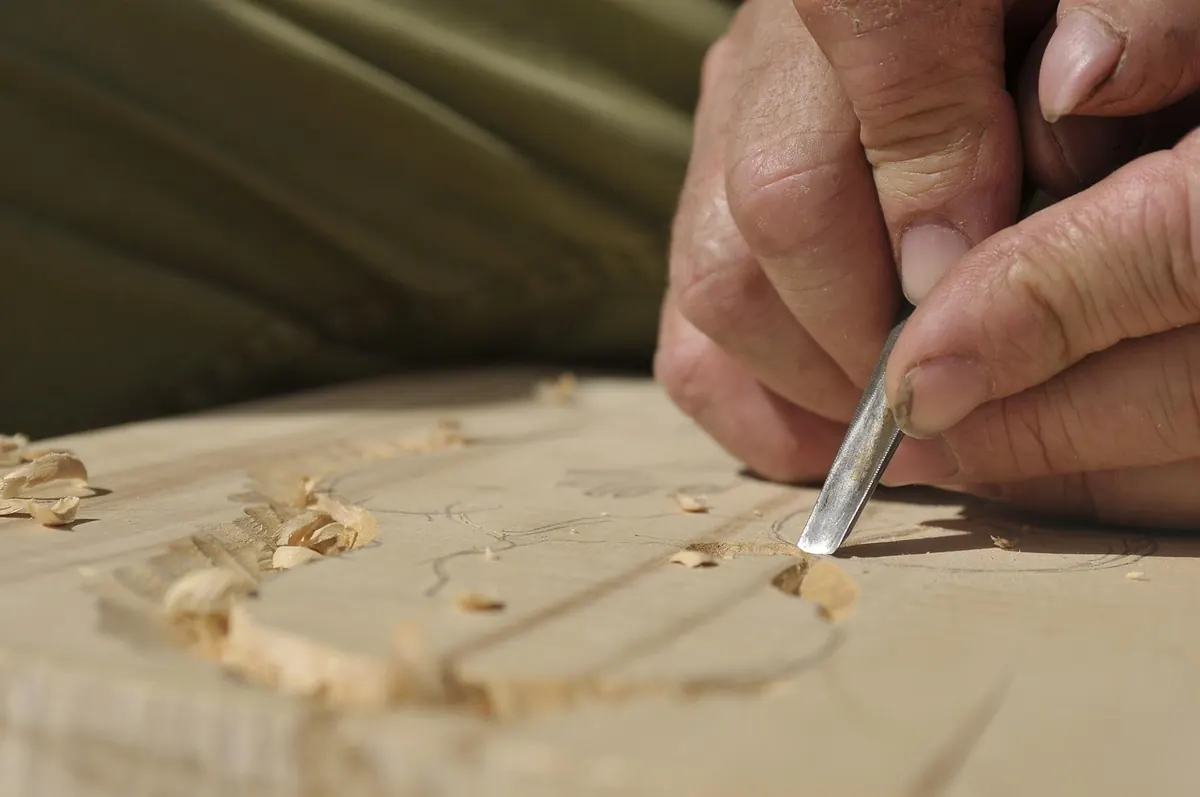
Five Common Woodworking Mistakes Beginners Make and How to Avoid Them
You know the moment. You have cut the shelf, glued it, clamped it, left it overnight, and it still does not sit flat. Or a screw splits the rail as you drive it home. Or the drawer front sits a millimetre proud on one side and you cannot work out why. None of these are disasters, and none of them mean you are not cut out for this. They are what happens when a step gets skipped — one that experienced woodworkers carry out almost without thinking. Here are the five mistakes that cause most of the wreckage, and the simple habits that prevent them.
Measuring and marking: get the reference right first
Most beginner measuring errors have nothing to do with the ruler. They come from measuring against a different surface each time. Take the internal width of a carcass from the left side at one end and from the right at the other, and the two numbers can match perfectly while the shelf still jams, because the sides are not parallel. Before you cut anything, choose one face and one edge as your reference, mark them in pencil, and take every measurement from those same surfaces. It sounds fussy. It saves hours.
Two other habits help. Treat the pencil line as material you are removing: mark the line, then cut on the waste side of it so the line survives. A 0.7 mm pencil line is a real width, and half a millimetre matters on a drawer front. Second, be careful with tape measures for anything precise. The hook on a tape is designed to slide by its own thickness, which is what makes inside and outside readings work — but if it gets bent, or the tape is a cheap one, the error grows over a metre. For joints and internal fits, use a steel rule, or cut a scrap batten to length and use that as a story stick instead.
Sawing: support the work and let the saw cut
A wandering blade is usually not a blunt blade or bad technique. It is unsupported timber. If the board is balanced on one knee over a bin, the wood shifts with every stroke and the saw follows it. Set up properly instead:
- Clamp the timber so the cut line sits just above the bench edge or the top of a sawhorse, at roughly hip height.
- Support the offcut so it cannot drop, pinch the blade and tear the grain at the end of the cut.
- Use a bench hook for small pieces, and a fine-toothed saw for tenons and shoulders.
- Start with two or three short pull strokes backwards to establish a kerf, then use the full length of the blade in long, even strokes.
- Steer with your wrist rather than your shoulder, and ease off the downward pressure — forcing the teeth makes the blade wander.
The kerf, the slot the teeth cut, is wider than the saw plate, so the blade always has room to move. Give it a reason not to. Sight down the line as you go, correct with small sideways adjustments instead of yanking the saw, and slow down over the last few strokes.
Drilling: pilot, clear, support, check
Screws split timber for one of two reasons: the hole is too small, or there is no hole at all. Near the ends of a board, and in hardwood generally, you nearly always need one.
When a screw holds two pieces together, the piece on top needs a clearance hole the width of the screw's threads so the screw can pull it tight against the piece below. That lower piece needs a pilot hole closer to the diameter of the screw's solid shank. Too small a pilot hole and the wood splits; too small a clearance hole and the screw lifts the top piece instead of clamping it. A bradawl or a centre punch gives the bit somewhere to start, which stops it skating across a smooth surface.
Two more fixes worth adopting. Stick a piece of masking tape on the bit at the depth you want — quicker than squinting at the drill. And when you are drilling right through a board, clamp a sacrificial scrap underneath so the bit exits into that rather than blowing out the back face. Check you are vertical by looking from two directions, or hold a small square against the bit.
Sanding: work through the grits and keep the pressure light
Sanding is where beginners undo their best work. The classic error is jumping from a coarse grit straight to a fine one, or finishing with whatever paper happens to be in the drawer and hoping a coat of finish will hide it. It will not. Varnish and oil make scratches more visible, not less.
The routine that works:
- Start with the coarsest grit you actually need — often 80 to 120 for removing saw marks — and keep going until every mark from that grit has gone.
- Move up in small steps, roughly 120, then 150 or 180 for most furniture work. Skipping more than one step leaves deeper scratches sitting under the finer ones.
- Sand with the grain, using a cork or padded block rather than your fingers, which cut hollows into flat surfaces.
- Let the abrasive cut. Pressing hard clogs the paper, heats the surface and rounds over edges that need to stay crisp.
- Dust off between grits, and do not round over the joints between pieces that are meant to sit flush.
End grain behaves differently: it drinks finish and dries darker, so sand it one or two grits finer than the face grain. Be careful with veneered board and ply — the outer layer is thinner than most beginners expect, and one determined pass will go through it.
Clamping: firm, even and square
More joints fail from too much clamp pressure than too little. Wind an F-clamp down until the wood starts to give and you squeeze the glue out of the joint, leaving a dry, weak bond with a tidy gap either side. You want firm, even pressure and a thin bead of glue along the whole joint — not a waterfall.
Three or four clamps spread along a joint do more good than one done up hard. Cauls — strips of scrap with tape or packing on the faces — spread pressure across a wide panel and stop clamps denting the work. Before you walk away, check the assembly is square by measuring both diagonals; if they differ, a light clamp across the long diagonal will pull it true while the glue cures. Leave it in the clamps for the time the glue bottle states, and longer still before you put the joint under real load.
A quick routine to build into every cut
None of this is complicated; it is a sequence. Before you cut, mark from a single reference face, clamp the workpiece so it cannot move, and cut on the waste side of the line. Before you drill, pilot, clear, back the work up and check the angle. Before you sand, look at the previous grit's scratches in raking light and remove them all. Before you clamp, check the diagonals and treat the glue's cure time as a deadline rather than a suggestion.
Pick one of these to work on next time you are in the workshop. Fix the measuring habit first if you only fix one thing, because every other mistake gets smaller once your lines are in the right place.
Photo: majgot / Pixabay